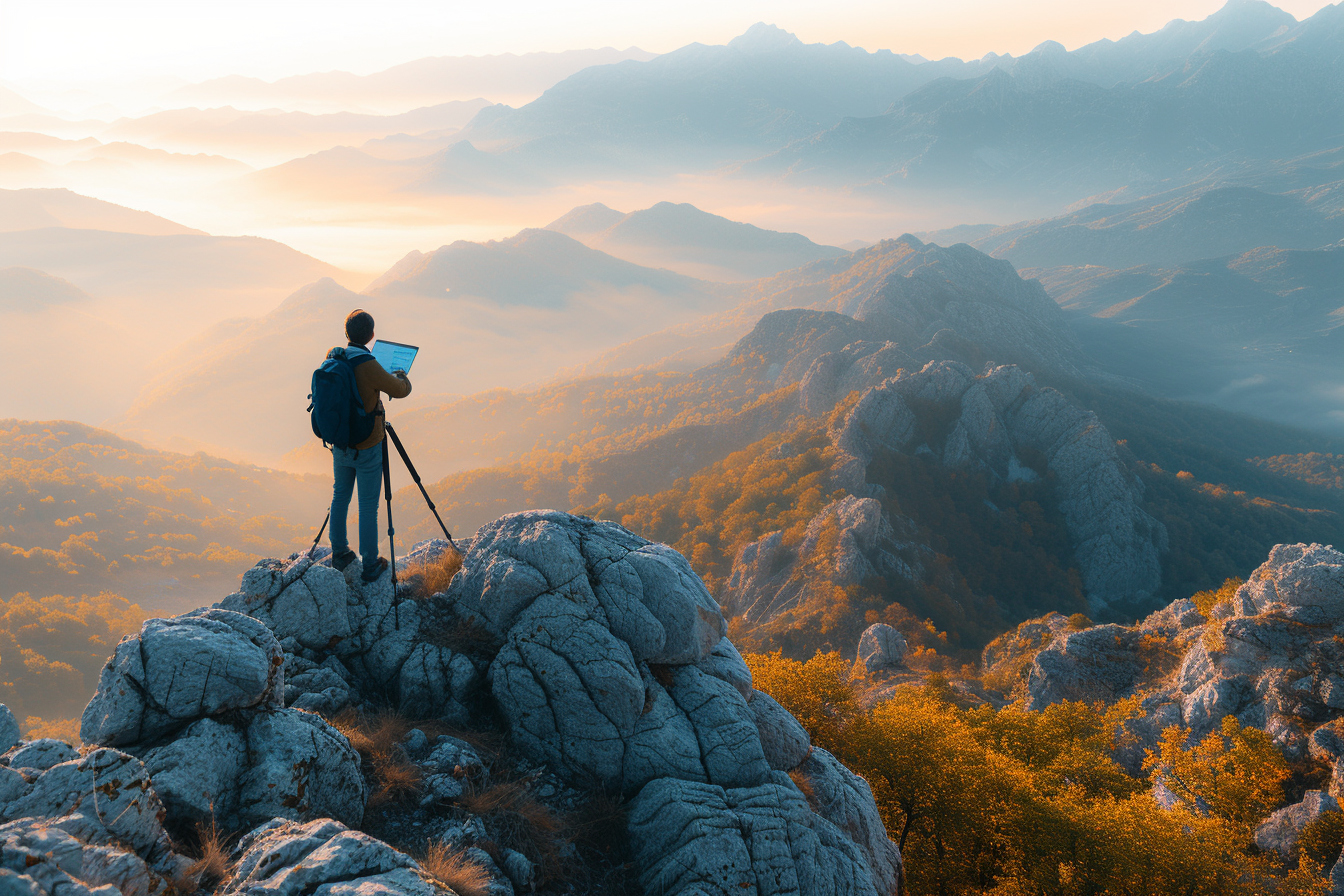
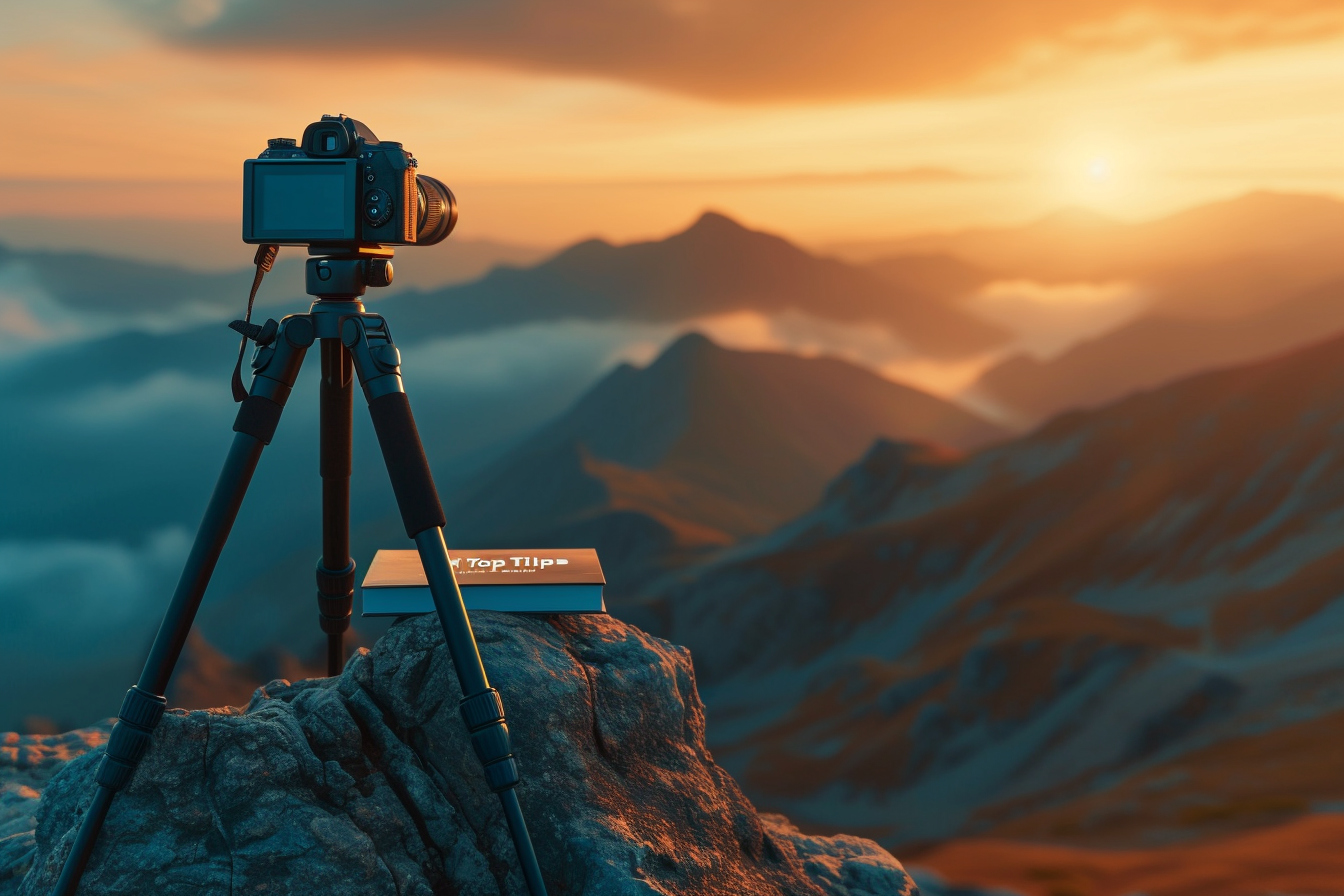
Capturing the vast expanse of a stunning landscape can be a thrilling experience for any photographer. Panoramic photography allows you to convey the breathtaking scope of a scene in a way that surpasses the limits of standard aspect ratios. But how do you take that perfect sweeping shot? This detailed exploration dives into the best practices for creating captivating panoramic images that will elevate your landscape photography to new heights.
Grasping the basics of panoramic photography
Panoramic photography is more than just taking a wide-angle shot; it involves seamlessly stitching together multiple images to create one comprehensive picture. It demands precision and patience, but the end result can be a jaw-dropping portrayal of the world’s beauty.
Understanding your equipment
To start off, the right equipment is essential. A sturdy tripod with a rotatable head ensures your camera moves smoothly and stays level. A dedicated panoramic head can be beneficial but is not a necessity for beginners. Most importantly, any camera with manual settings will suffice, although those with a panoramic mode can simplify the process.
Perfecting your technique
Consistency is the keyword when it comes to panoramic photography. Exposure, focus, and white balance settings should be locked to maintain uniformity across all shots. Switching to manual mode is recommended to gain full control over these variables.
The sweep
When capturing your series of images, overlap each by about 30%. This allows your stitching software to have enough information to blend the photos seamlessly. Keep the movements between shots steady and consistent, rotating the camera on a single axis point to avoid parallax issues.
Choosing the right time and place
The best panoramic shots are often dictated by lighting and location. Golden hours—shortly after sunrise and before sunset—provide a warm, diffused light that accentuates the landscape. Scouting your location beforehand helps to visualize the panorama and determine the number of shots needed.
Mastering the art of stitching
Once you’ve captured the series of images, the next step involves stitching them together. Editing software like Adobe Photoshop offers panoramic features that automate the process, while dedicated programs like PTGui provide more control for professionals.
Manually adjusting for perfection
Even with automatic features, manual adjustments can prove vital. Look out for inconsistencies in stitching, pay attention to the horizon line, and be prepared to crop for composition. Rectifying these elements will ensure a flawless panorama.
Advanced techniques for standout panoramas
Beyond the fundamentals, consider delving into advanced techniques that can set your panoramas apart.
Hdr panoramas for dynamic range
High Dynamic Range (HDR) photography involves taking several shots of the same scene with different exposure settings and combining them. Applying HDR to panoramas can handle challenging lighting conditions, ensuring both shadows and highlights are well-represented.
Panoramic perspective: go beyond the horizontal
While panoramic photography typically conjures images of vast horizontal landscapes, don’t be afraid to experiment with vertical panoramas. Capturing the towering height of skyscrapers or trees can offer a unique perspective.
Perfect the post-processing
Polishing your panorama in post-production can transform a good photo into a great one.
Fine-Tune the details
Correct slight exposure differences, enhance colors, and sharpen the image to highlight details. Utilize the clone stamp or healing brush tools to remove any minor stitching flaws that distract from the overall image.
The art of cropping
Effective cropping can make or break your panoramic shot. Removing excess sky or foreground can focus the viewer’s gaze on the most important elements, leading to a more impactful photograph.
Navigating challenges and solutions
While panoramic photography can be challenging, understanding potential problems can help you avoid them. Wind, moving subjects, and changes in light during the shoot can all disrupt the continuity of your panorama.
Consistency is key
Use manual focus to ensure your subject remains sharp throughout all images. Wait for lulls in the wind to minimize camera shake and foliage movement. If you’re dealing with moving subjects like waves or crowds, patience and timing are crucial to capture the right moments for stitching.
Finalizing the panorama
While there may be imperfections, don’t discount the human element in panoramic photography. Even with slight mismatches, a panorama can still be a work of art. Embrace the small quirks that add character to your image.
Learning through practice

Practice makes perfect, and this is especially true for panoramic photography. Try different scenes, times of day, and weather conditions to understand how these variables interact and affect your panorama.
Expanding your knowledge
Photography workshops and online tutorials can be an excellent way to hone your skills. Engaging with fellow photographers through forums or social media can also provide valuable insights and inspiration.
Final thoughts
Panoramic photography may start with a sweeping view, but its essence is woven through the countless details handled behind the lens and in post-production. Each step, from the placement of your tripod to the final click of the edit button, plays a pivotal role in crafting a panoramic masterpiece.
Embrace these tips as a starting point for your panoramic journey. By investing time in tweaking your technique and mastering panoramic intricacies, the resulting images will be truly stunning landscapes. With each sweeping shot, you’ll capture more than just a scene; you’ll create a visual story that invites viewers to step into the panorama and explore every detail of your expanded canvas.


